DIY Macrame Mini Wall Hanging | Easy Beginner Tutorial
Looking for a simple, creative way to add texture and warmth to your home?
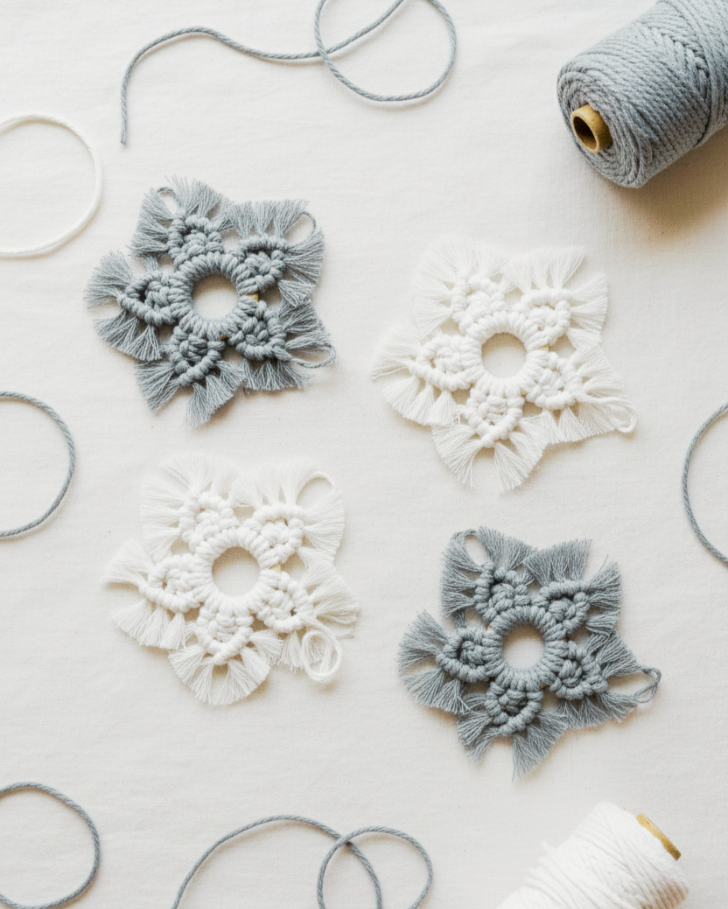
This DIY Macrame Mini Wall Hanging tutorial is perfect for macrame for beginners! You can create a nice home decor item quickly. All you need are a few simple knots, soft cotton cord, and a small wooden dowel.
This project will take you less than 30 minutes to make. Whether you are decorating a small space, making items for a fair, or creating gifts, this project is quick and fun. You can customize it in many ways.
Why Start with a Mini Macrame Project?
Starting a mini macrame project is a great choice. It needs few materials and takes little time. This helps you learn the basic knots without the stress of a project.
Once you learn the Lark's Head Knot and the Square Knot, you'll have the confidence to move on to larger pieces! This small wall hanging is perfect for adding a touch of bohemian decor to any space—from a nursery to a home office.
Watch the Full Tutorial
Materials & Tools I Use
Before you start your mini macrame wall hanging, gather your materials. The links below are for the specific cord and tools I recommend for achieving the best finish.
Affiliate Disclosure: The links below are affiliate links. This means I may earn a small commission if you buy something through them, at no extra cost to you. Your support helps me keep creating free tutorials.
• 3 mm Macrame Cord: https://bobbinycords.co.uk/collections/regular-3mm-3-ply?aff=7
• 8 cm Small Wooden Dowel: https://amzn.to/46R1UvK
• 12 mm Round Wooden Beads: https://amzn.to/4n0lKJu
• Fringe Comb: https://amzn.to/3J11Znk
• Scissors: https://amzn.to/4oc7WMZ
Short on Time?
Shop The Finished Macrame Wall Hanging Now (Ready-Made Decor)
Buy from Samra Knots Website: https://www.samraknots.com/all-products/p/mini-wall-hanging-ornament
Buy on Etsy: https://www.etsy.com/uk/listing/4355442759/macrame-mini-wall-hanging-handmade
Step-by-Step Tutorial
1. Attach Cords to the Dowel (Lark's Head Knot)
Cut 5 cords (about 60 cm each).
Fold each cord in half and attach to the dowel using the Lark’s Head Knot.
2. Create a Triangle with Square Knots
Use square knots to form a small triangle pattern in the center. Keep the tension even for a clean, uniform look.
3. Finish with Diagonal Knots (Double Half Hitch)
Make two rows of diagonal Double Half Hitch Knots starting from each side toward the center to frame your triangle.
4. Add a Wooden Bead
Slide a 12 mm wooden bead onto the hanging cord above your wall piece for a simple decorative finish.
5. Comb and Trim the Fringe
Brush out the cord ends using your fringe comb for a soft, fluffy finish.
Trim the fringe evenly for a neat, professional look.
Tips & Variations
Once you’ve mastered this design, you can easily adapt it to create unique variations:
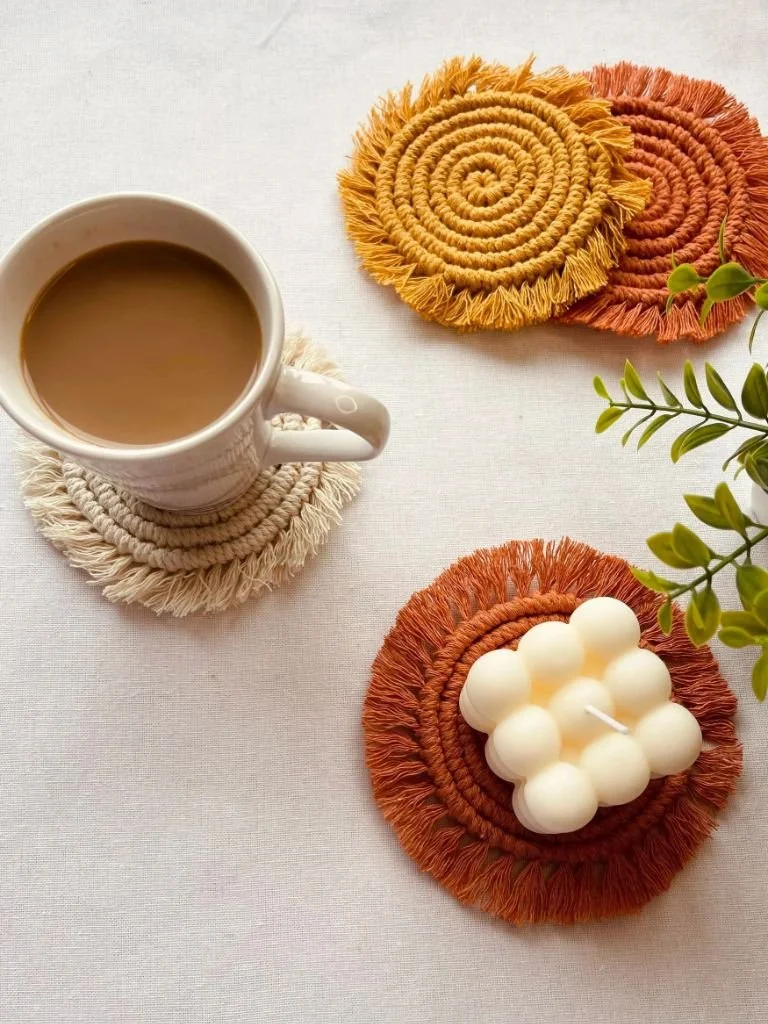
Color Blocking: Try using two contrasting colors of cord for a layered boho effect.
Seasonal Accents: Add small dried flowers, small greenery, or even cinnamon sticks for a beautiful seasonal touch. This makes it perfect for handmade gifts.
Gifting Presentation: Place your finished piece in a simple kraft box. This makes a professional handmade gift that is ready for sale or giving.
Cord Types: Experiment with different textures, such as twisted or single-strand cord, to see how the fringe changes.
Keep Crafting & Stay Inspired
Loved creating your mini macrame wall hanging? This small project is a great confidence builder. Explore more DIY Macrame Tutorials for beginners on my site—from macrame keychains to plant hangers. Macrame is a relaxing and rewarding craft that quickly turns simple cord into beautiful DIY home decor!
Follow @samraknots on Instagram for daily inspiration, and share your creations using #SamraKnots.
Enjoying our macrame tutorials? Consider supporting us!

Featured Posts