DIY Macrame Mini Tree Ornament: Beginner Christmas Craft
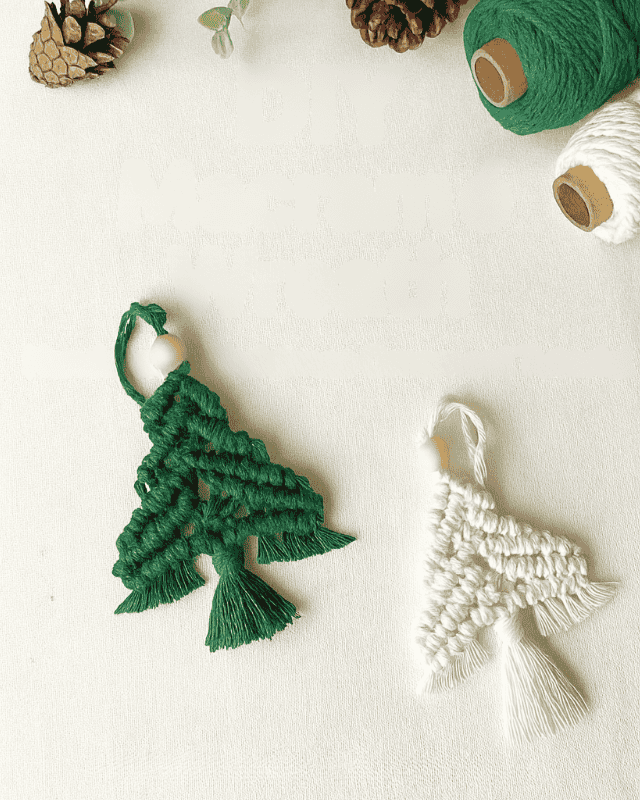
Looking for a cozy, handmade project this Christmas? This DIY Macrame Mini Tree Ornament is easy to make . This tree is a great beginner-friendly craft that adds a cozy, boho touch to your holiday décor.
These little macrame ornaments are versatile! You can hang them on your Christmas tree, use them as thoughtful gift toppers, or attach them to stockings. They are full of quality and charm, and they teach you the basic knots you'll need for bigger projects.
Watch the Full Video Tutorial
Materials & Tools You Will Need
(Contains affiliate links)
You will need soft, single-strand cotton cord (we use 3mm) and a few essential tools.
3mm Macrame Cord:
1 × 20 cm cord (Foundation Cord)
3 × 60 cm cords (Tier 1 Working Cords)
2 × 50 cm cords (Tier 2 Working Cords)
2 × 30 cm cords (Tier 3 Working Cords)
12mm Wooden Bead (for the hanging loop)
Fringe Comb
Sharp Scissors
Shop the Materials:
Cord Link: 3mm Macramé Cord: https://amzn.to/478EuSx
Tools Links:
12mm Wooden Bead: https://amzn.to/47E3Ojs
Fringe Comb: https://amzn.to/4oufNFO
Scissors: https://amzn.to/4hLXB8R
Affiliate Disclosure: The links above are affiliate links. This means I may earn a small commission if you make a purchase through them — at no extra cost to you. Your support helps me continue creating free tutorials and improving this channel.
Step-by-Step Macrame Tree Instructions
This project uses two main knots. The first is the Lark’s Head Knot to attach the cords. The second is the Diagonal Double Half Hitch Knot to create the tree shape.
1. Attach the Base Cords (Lark's Head Knot)
Take the first 60 cm cord and attach it to the 20 cm foundation cord using a simple Lark’s Head Knot.
Repeat this process, attaching the remaining two 60 cm cords next to the first one.
Crucial Step: Center all three attached cords on the foundation cord before proceeding.
2. Form the First Tier (Diagonal Double Half Hitch Knots)
Identify the outermost cord on the left. This is your first leader cord.
Using this leader cord, start tying Diagonal Double Half Hitch Knots across the top row, moving inward.
Repeat this process on the right side, using the rightmost cord as your second leader.
The two rows of hitch knots should meet at a sharp point in the center, forming the top of the tree.
3. Stabilize the Center (Square Knot)
Once the diagonal rows meet, you will have four vertical cords hanging in the center.
Tie one Square Knot at the center point underneath your hitch knots. This stabilizes the first tier and creates a flat base for the next section.
4. Repeat Pattern for Tier 2
Attach your two 50 cm cords to the foundation cord with the Lark’s Head Knot, placing one on the far left and one on the far right.
Repeat the process from Step 2: use Diagonal Double Half Hitch Knots to shape the sides, starting from the new outermost cords and meeting at a center knot.
5. Finish the Base (Tier 3)
Attach the final two 30 cm cords to the foundation cord on the outer edges.
Repeat the diagonal hitching process (Diagonal Double Half Hitch Knots), using these final rows to complete the tree’s widest base.
6. Create the Trunk and Loop (Gathering Knot)
Gather all the remaining cords together at the bottom center.
Use a Gathering Knot (or a simple tightly wound cord) to secure the remaining cord ends, creating a small "trunk" effect.
Trim the cord tails underneath the trunk.
7. Add the Wooden Bead and Hanging Loop
Thread the two remaining center cords through the wooden bead and slide it up to the top of the tree.
Secure the bead by tying an overhand knot above it to create the final hanging loop.
8. Comb and Trim the Fringe
Use your fringe comb to brush the entire fringe section until it is soft and uniform.
Carefully trim the fringe into a precise triangular Christmas tree shape.
Explore More & Shop Handmade
Loved this project? Ready for your next boho craft?
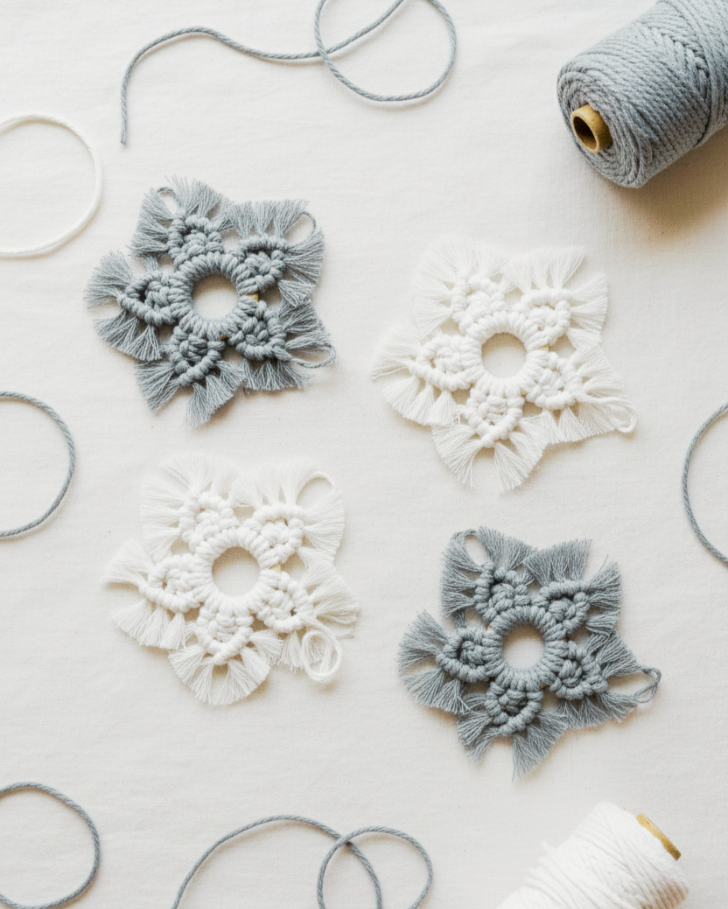
Next Project: DIY Macramé Snowflake Tutorial
Next Project: DIY Macramé Wreath Tutorial
No Time to Craft? If you love the cozy, handmade look but need it delivered fast, you can buy the Handmade Macrame Mini Tree Ornament directly from the shop right now!
Enjoying our macramé tutorials? Consider supporting us!

Featured Posts